What to Expect from Your First Surf Lesson in Da Nang
1. What to expect
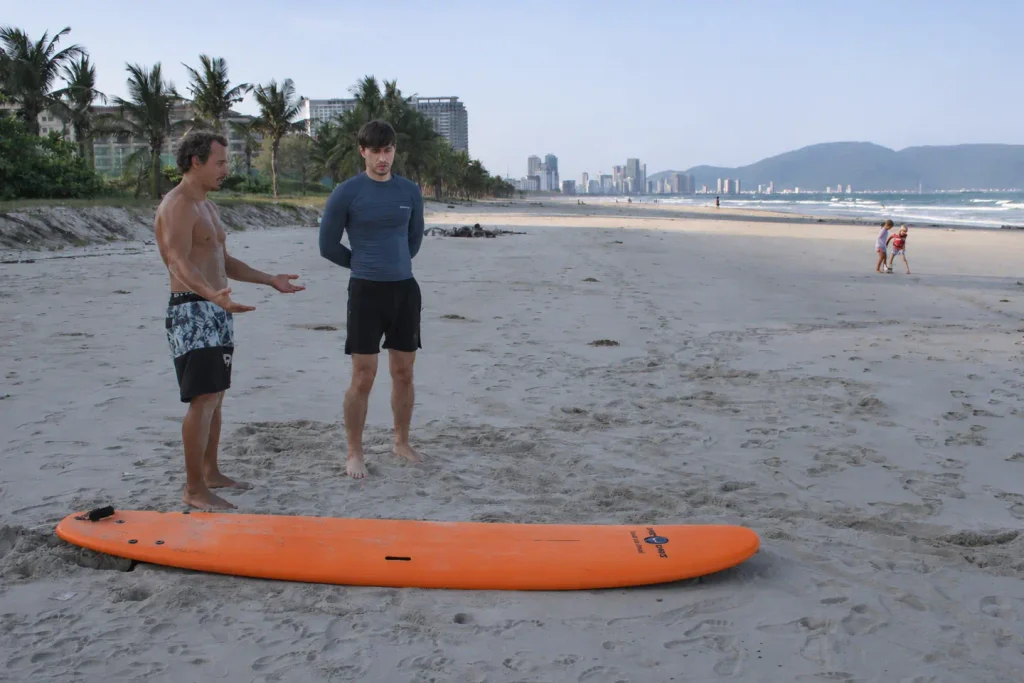
Where do you lie on the board? Where do your hands go when it’s time to stand up? These movements can feel unfamiliar at first, so we practise them on the beach. You can watch me demonstrate, try it yourself and ask me to show you anything again. Then we head into the water and try to catch a wave.
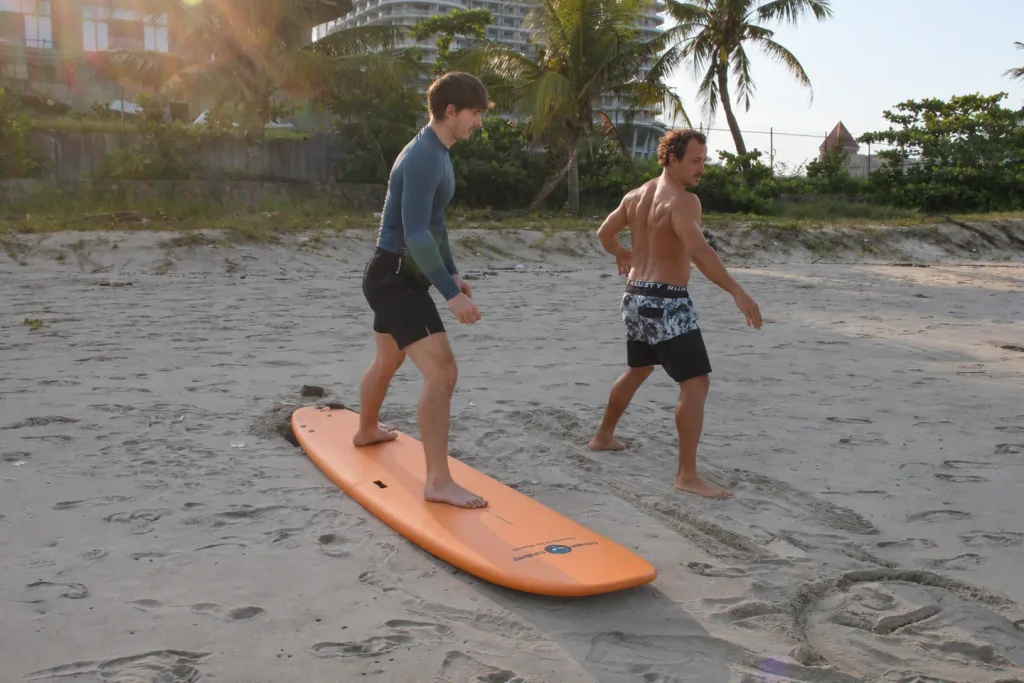
Our team at SlicedWaves photographed one of my lessons in Da Nang. I’ll take you through the photos, from the first exercises on the sand to the first attempts in the water, and explain what I look for as I coach.
If you’re wondering what to bring or how to prepare, take a look at our beginner’s guide to surfing in Vietnam.
2. Before we get in the water
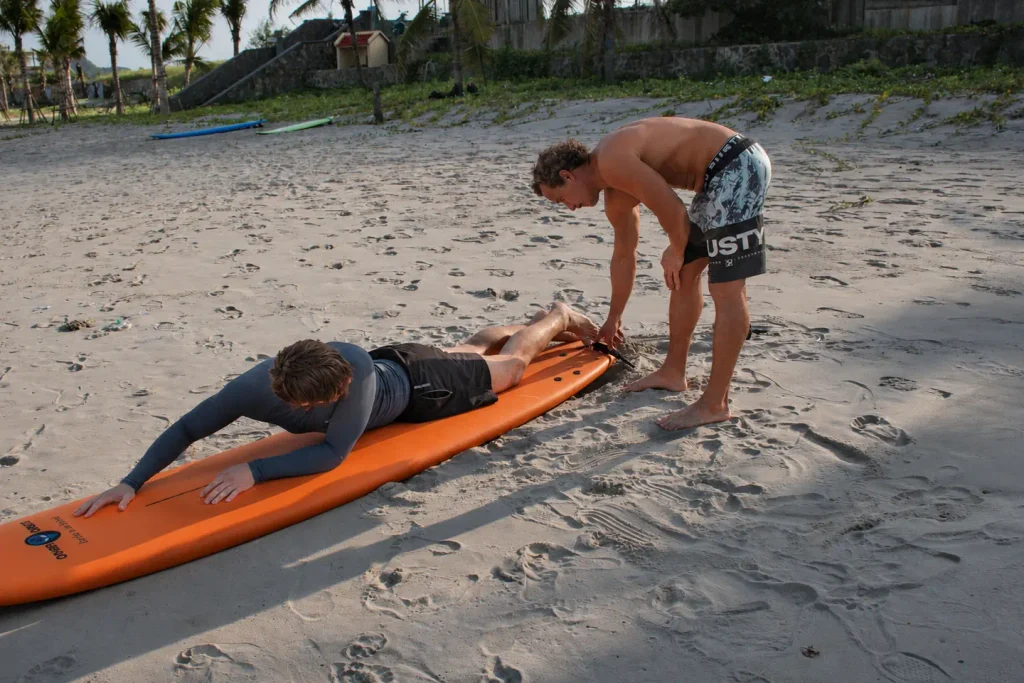
The leash connects your board to your ankle so it stays with you if you fall. A wave can still send the board flying, so give other people plenty of room. Keep your hands off the leash when it’s under tension. The fins under the tail can also cut or bruise you if the board hits you.
It’s easy to drift along the beach without noticing. Before we go in, we pick a fixed landmark on shore and check our position against it from time to time. After a ride, we go back around the side of the practice area, clear of anyone riding towards the beach.
If you fall, cover your head with your arms and keep it covered as you come back up. Your board may be close by. Water can be shallower than it looks, so avoid jumping or diving off the board.
If you’re tired or feeling uneasy, tell me straight away. We can head back to the beach, take a breather and talk through what felt difficult.
3. Finding your position on the board
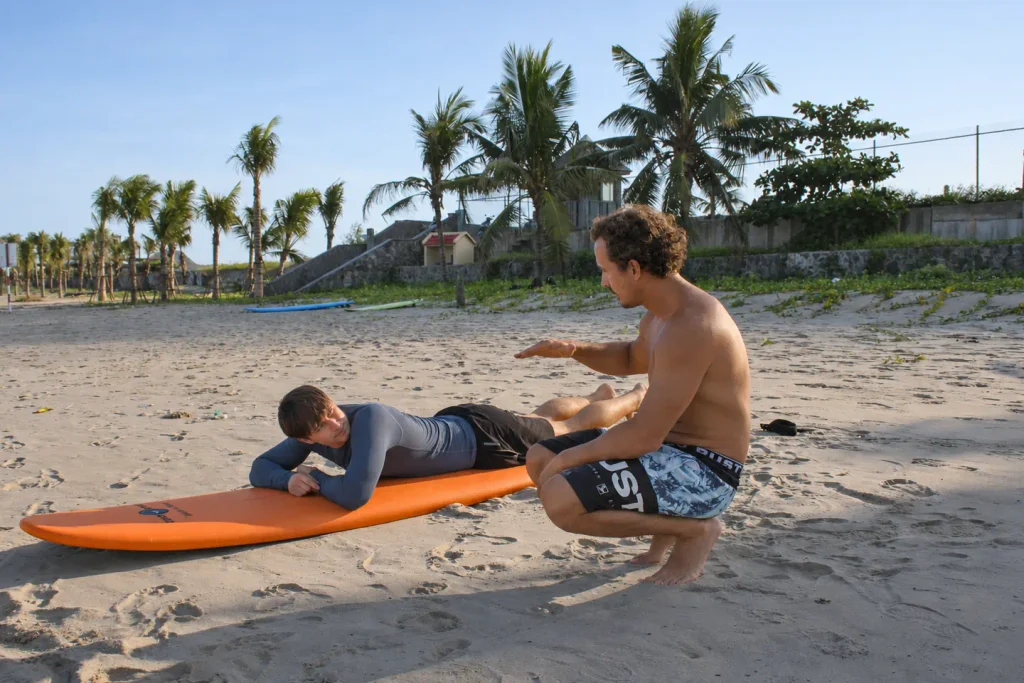
Lie lengthways on the board with your chest and hips lined up down the middle. To find the right spot from nose to tail, take a few strokes in calm water. If the nose keeps dipping under, slide back a little. If it’s sticking up and the board is slow to get moving, try sliding forward. Make small adjustments and see whether the board paddles more easily. You may find that your sweet spot shifts when you change boards.
Lift your chest slightly as you paddle so you can see where you’re going. If you have to arch your lower back sharply to look ahead, lower your chest a little.
4. Practising the paddle stroke on the beach
On the sand, you can slow the stroke right down and see what your arm is doing. Reach forward, imagine your hand entering the water beside the board, and draw it back. Bring it forward again above the water. Try it with the other arm, then alternate sides.
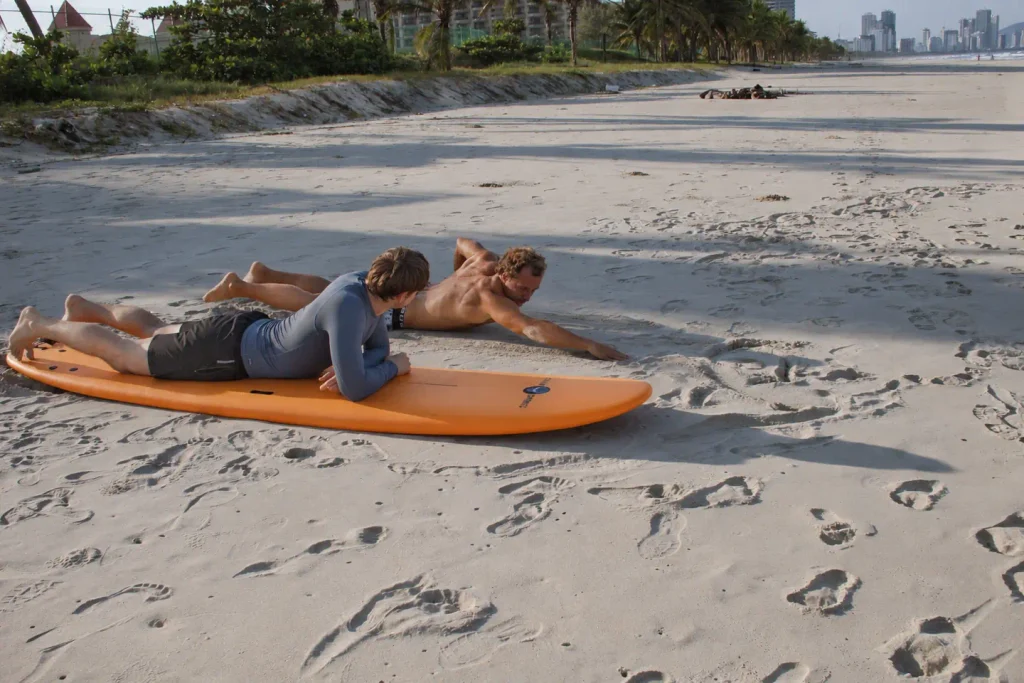
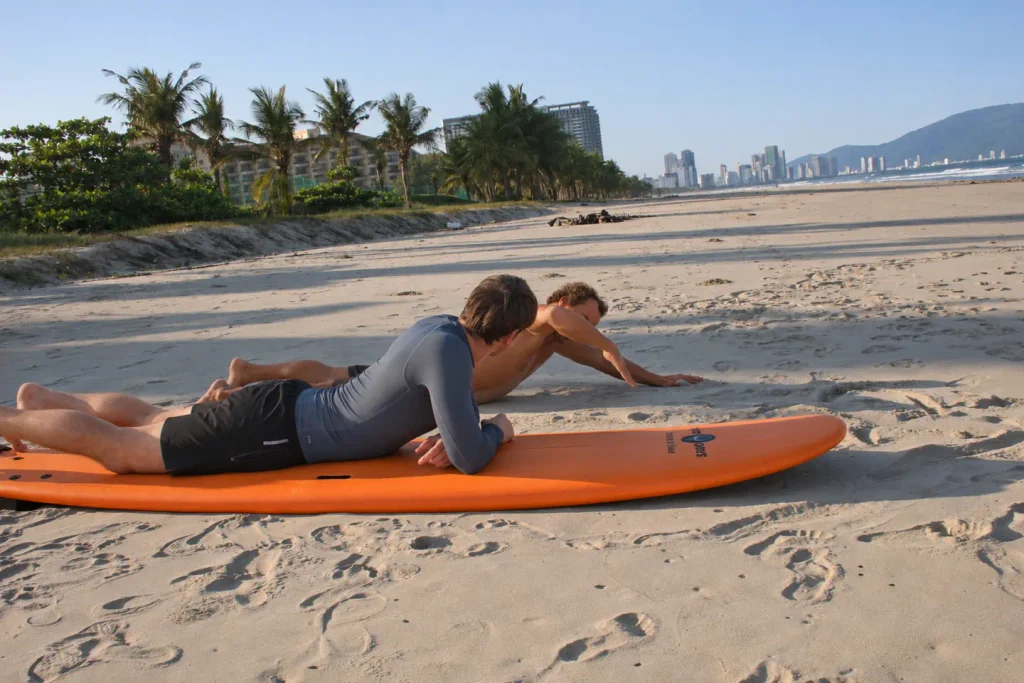
Notice whether you’re staying centred on the board. If your whole torso follows your reaching arm from side to side, the board can rock. On the beach, you can pause, reset and try again. In the water, you’ll feel the resistance against your hand and notice the board pick up speed over a few strokes.
5. How to pop up, step by step
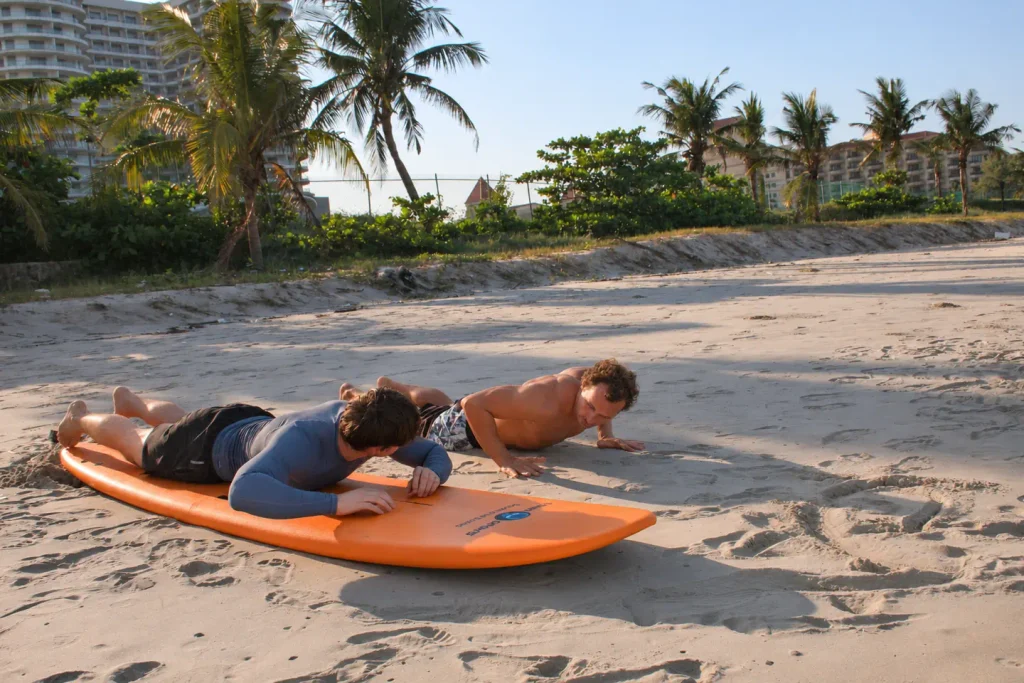
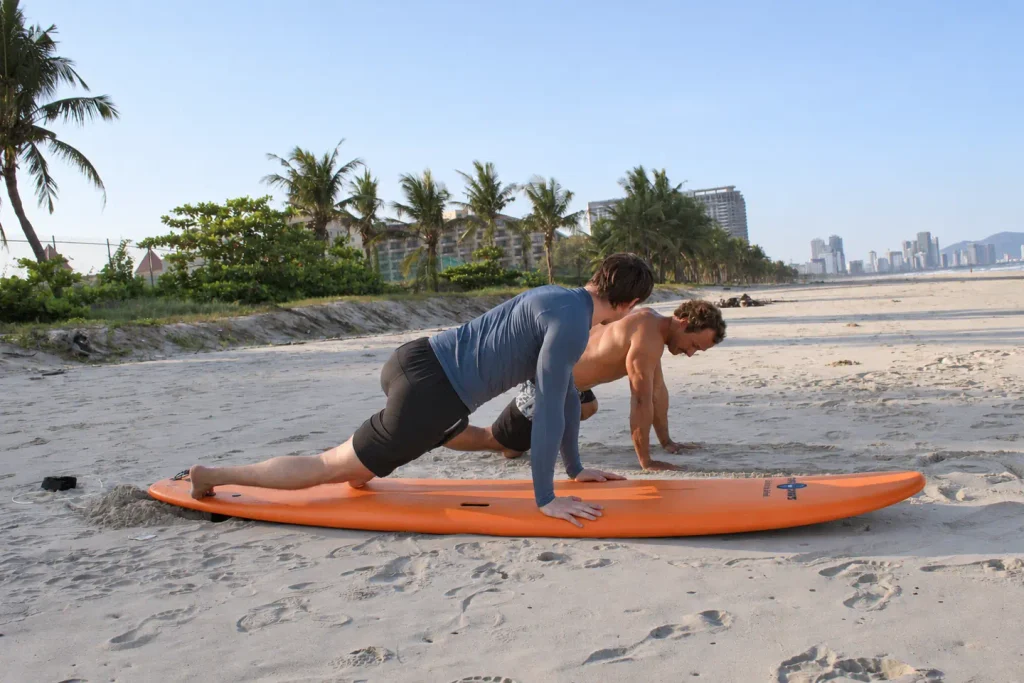
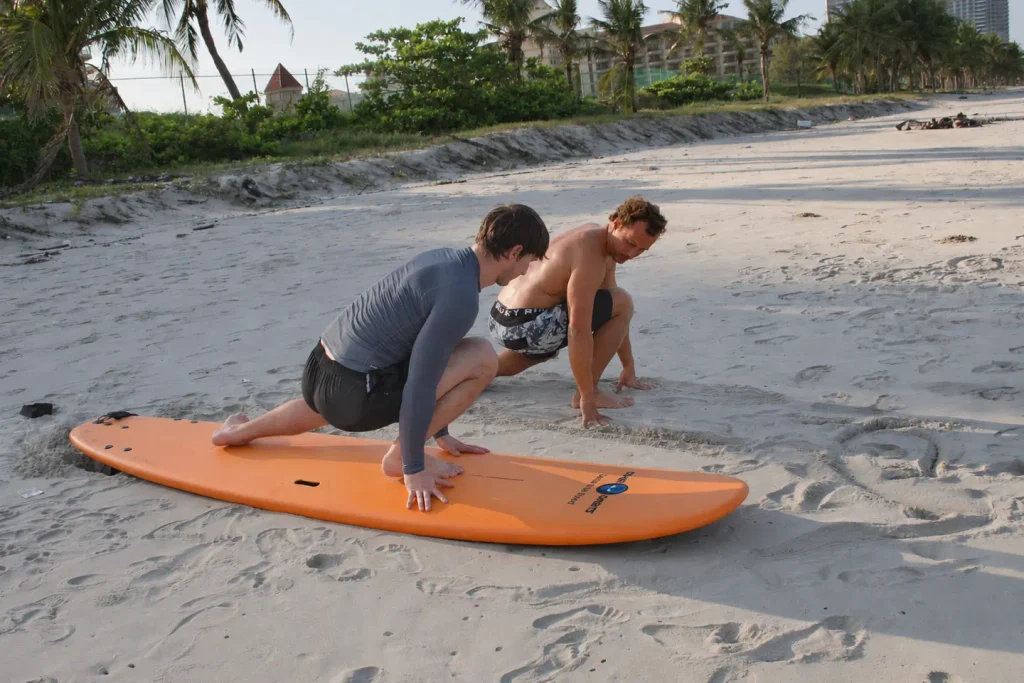
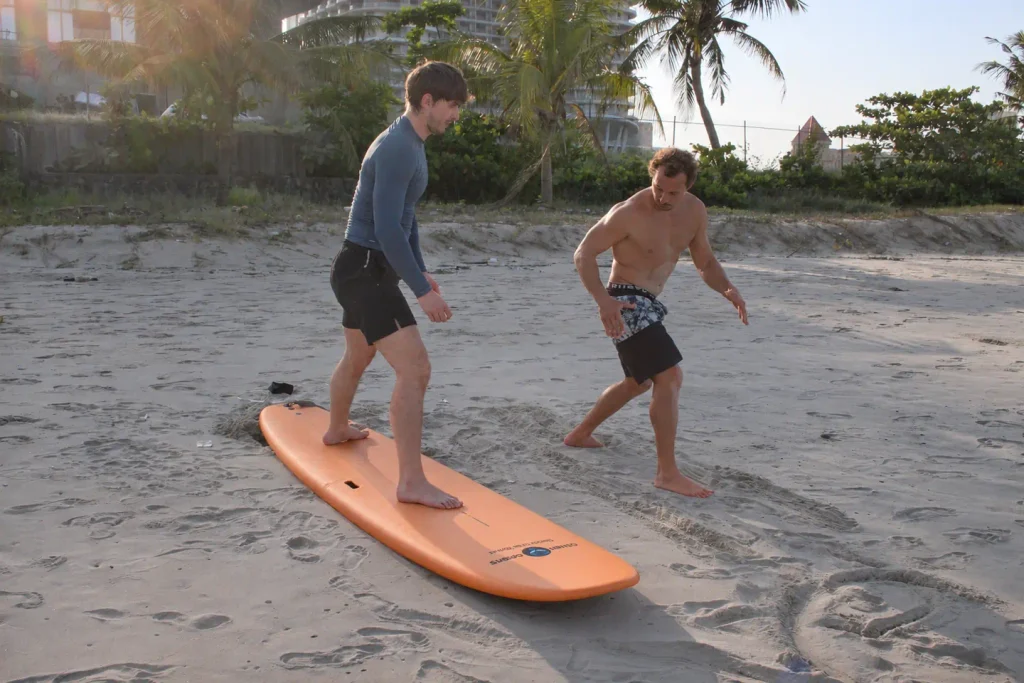
The move from lying down to standing is called a pop-up. On the beach we break it down. These four frames show the student using his hands for support, bringing a foot underneath him and coming up into his surf stance.
6. Finding your balance once you’re up
On the sand, try shifting a little weight from one foot to the other. If you have to move a foot to do it comfortably, adjust the distance between your feet slightly and try again.
Once the board is gliding, look where you want to go. If you feel yourself stiffen up, soften your knees and relax your shoulders. That gives you room to adjust when the board rocks or picks up speed.
7. Your first attempts in the water
We start by riding the whitewater, the foam from a wave that’s already broken, while lying on the board. That makes it easier to feel the board speed up as the wave carries it towards the beach. It’s the same feeling you’ll look for when you start trying to stand.
On the beach, you can stand up whenever you’re ready. In the water, timing matters. Plant your hands too early and you’ll stop paddling before the wave has picked you up. Once you’re gliding, the next job is to repeat the move you practised and find your balance. It can take a few goes, even if the pop-up felt easy on the sand.
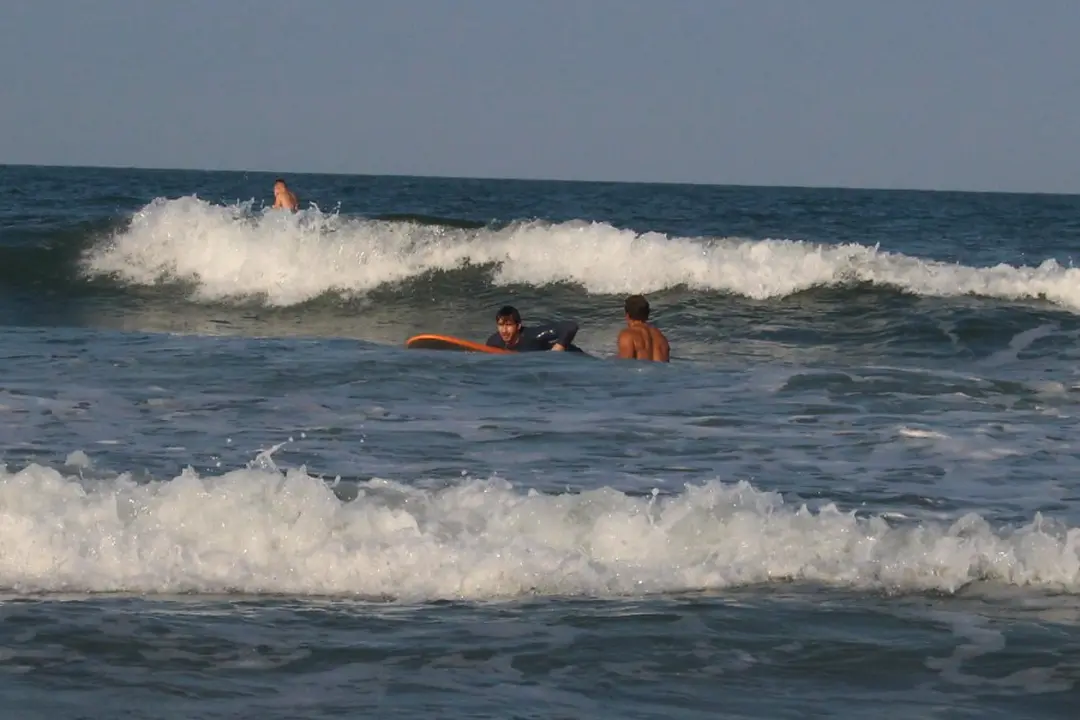
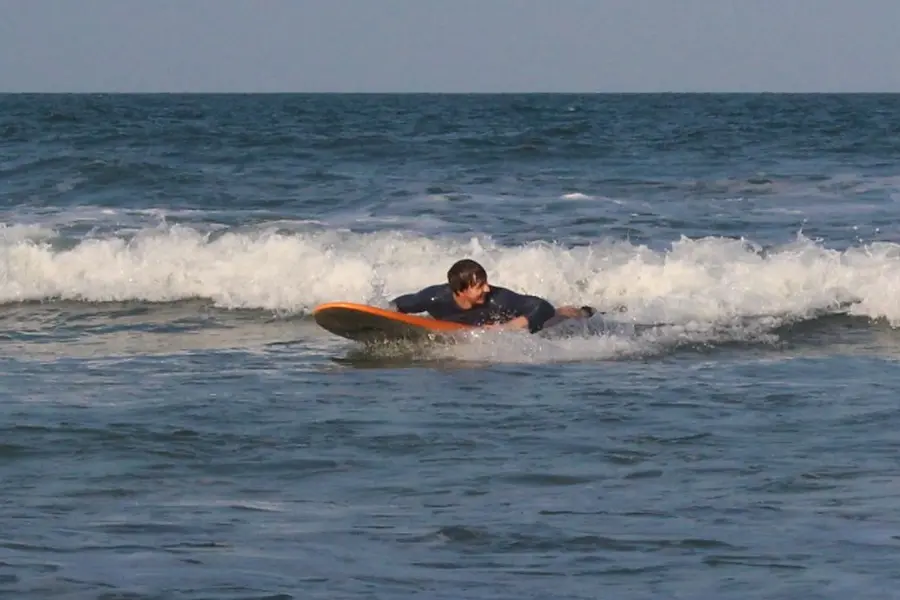
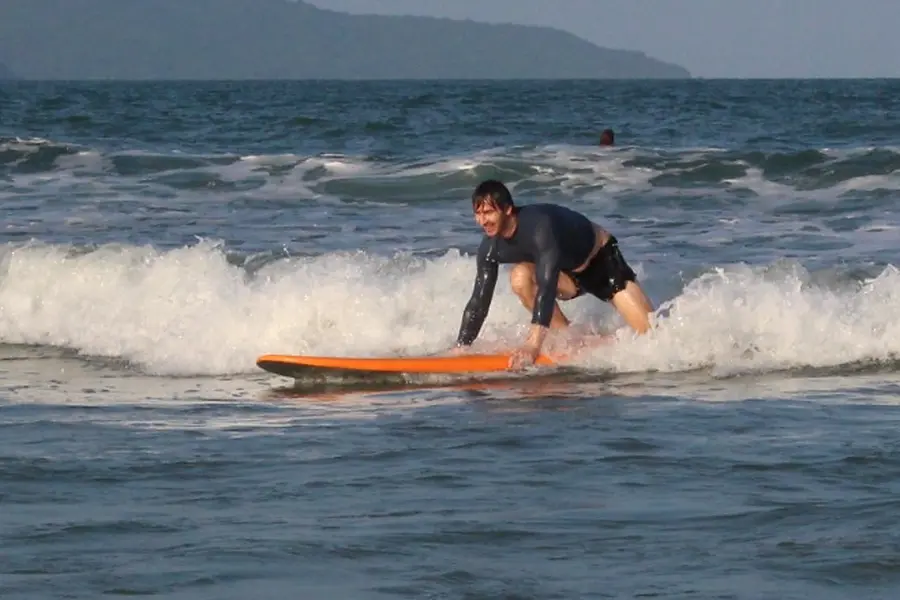
I usually give one cue between attempts. If a student stops paddling too soon, I’ll suggest another ride lying down and ask them to notice the moment the wave takes over. Then we try standing up again.
8. What you can take away from your first lesson
Progress looks different for everyone. You might get to your feet and ride a few metres. Or you might catch the whitewater lying down and feel for the first time what it’s like when the board starts gliding with the wave. That feeling gives you a cue for when to stand next time.
We finish by picking one thing to work on next time. If you’re catching the wave but losing your balance as you get up, for example, we might revisit where your feet land and see what changes on the next try.
If you’d like to give it a go, take a look at the surf lessons we run in Da Nang.