
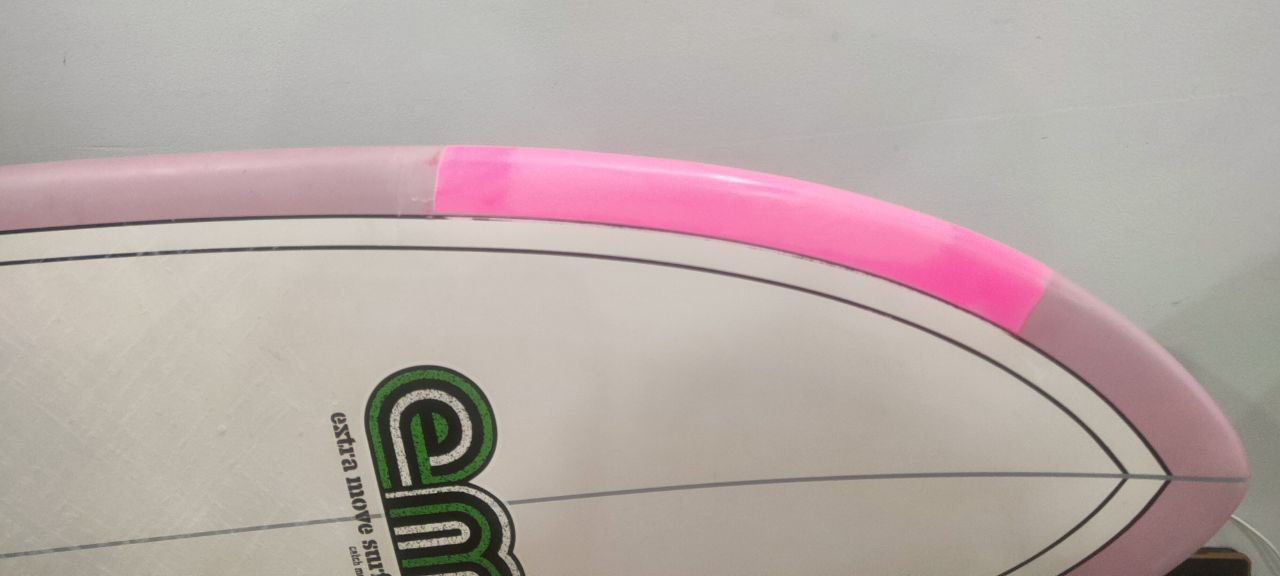

The most common mistake after a ding is judging it by how it looks and hoping “it’s probably fine.” With surfboards it’s the opposite: what matters is how deep the damage goes and whether water has gotten inside. A good repair surfboards always starts the same way: diagnosis first.
Step 1. Identify the type of damage (this determines everything)
Before touching tools, a repairer looks at what actually happened. Typical cases:
- A snapped board / major break
- A puncture all the way down to the foam
- A regular ding
- A hairline crack / a web of small cracks
Depending on the type, it’s either a quick seal—or a full rebuild of the damaged area.

Major break (snapped board): the repair starts with removing weak material and rebuilding the shape.
Step 2. If you can see foam, remove everything weak first
If the damage is down to the foam (for example, a puncture or impact), the approach is strict but correct:
- Cut/grind away all compromised material around the damage (anything soft, loose, or delaminated).
- Rebuild the shape, instead of just “smearing resin on top.”
Important note: you usually don’t “replace foam like-for-like.” The missing volume is commonly rebuilt with resin + filler.
What they rebuild with: resin + Aerosil
In the interview there’s a key material: Aerosil (fumed silica). It’s a resin thickener.
Resin on its own is runny—it will flow and sag. Aerosil turns it into a “paste” you can actually shape, like body filler:
- mix resin + Aerosil → thick, workable paste
- build up the missing volume → let it cure
- then refine the contours with sanding
Step 3. Then: fiberglass layers and a resin finish
Once the shape is restored and sanded true, the classic lamination steps follow:
- 1–2 layers of fiberglass cloth (sometimes more, depending on the case)
- wet-out with resin
- level, fair, and sand again
Think of it as a sandwich: restore the core shape, then rebuild the skin that carries load.
How long does a repair take in real life?
The repairer’s answer is refreshingly honest: in theory it can be quick, but reality usually stretches it.
Typical timing from the conversation:
- resin + Aerosil can take up to 2 days to cure
- an “ideal” scenario is around 3 days
- more realistic turnaround is 4–5 days
And there’s one crucial step beginners underestimate:
Drying the board is its own stage
If you were surfing and the board got punctured, water may have entered. The advice is:
- dry it for several days in good weather
- ideally up to a week, if you can
Why it matters: trapped moisture increases the risk of delamination under the repair (layers separating), which can make the fix look fine outside while the board keeps failing inside.
Will the board be strong after a repair?
Here’s the honest frame:
- after a major snap, it won’t be factory-new again
- but it can be made very solid—it depends on damage, technique, and expectations
- every new break/ding adds stress history and raises the chance of future weak lines (“creases”)
Practical takeaway: after a big break, it’s smart to treat the board as more fragile and avoid pushing it into the same heavy conditions as before.
Small crack: when you can ignore it—and when you shouldn’t
This part is gold, because it gives a clear boundary between “cosmetic” and “needs repair.”
If the crack is barely visible
Sometimes you can do nothing—the chance it’s actively sucking in water may be low.
But repeated surfing, flex, and saltwater can slowly open micro-cracks over time.
When it’s definitely time to repair
The clearest sign from the interview:
If you can see the weave/texture of fiberglass cloth (“the glass shows”).
At that point it’s no longer cosmetic. The common failure chain looks like this:
- delamination starts (often like a bubble or soft spot)
- the fiberglass skin separates from the foam
- cracks spread, and pieces of the outer layer can start chipping off
Quick checklist: what to do when you spot damage
- Check depth: can you see foam or not?
- Look for “glass”: can you see the fiberglass weave?
- If water likely got in—dry first, then repair.
- Don’t wait for it to worsen once delamination/soft bubbling begins.